
How to Integrate ChatGPT into WordPress

Integrating ChatGPT into a WordPress site can significantly enhance user engagement and provide personalized experiences. By using the right plugins or methods, website owners can easily understand how to integrate ChatGPT into WordPress, which offers functionalities to offer interactive customer support and automate content creation. This integration allows website visitors to enjoy real-time assistance and improved interactions.
Some approaches involve using a plugin, webhook, or embed code for a seamless setup. These techniques elevate site performance and contribute to higher user satisfaction by responding to visitor queries and providing tailored recommendations.
Adopting ChatGPT on a WordPress site can also optimize the workflow with features like AI-generated content and an AI Copilot. Leveraging options like the AI Engine plugin offers a great way to explore artificial intelligence capabilities. Such tools can transform a website into a dynamic and user-friendly platform, enhancing both usability and functionality.
Prerequisites for WordPress Integration
To successfully integrate ChatGPT into a WordPress site, it’s crucial to have a good grasp of WordPress hooks, be familiar with the ChatGPT API, and set up a proper development environment. Each of these elements plays an essential role in ensuring smooth integration.
Understanding WordPress Hooks
WordPress hooks are essential building blocks for customizing and developing features. Hooks allow developers to modify WordPress behavior without altering core files. They come in two types: actions and filters.
Actions let users add code during specific processing points, while filters modify data as it’s processed. Understanding how to use these hooks will ease integrating ChatGPT on your site by allowing for seamless customization.

Incorporating WordPress hooks involves adding your actions or filters into theme or plugin files. You can directly engage with WordPress processes, enhancing ChatGPT’s interaction with your platform. Mastery of hooks is essential for developers looking to optimize and proficiently manage WordPress integrations.
Familiarity with ChatGPT API
Understanding the ChatGPT API is crucial for integration. The API enables communication between WordPress and ChatGPT, enabling the chatbot to function effectively. Users need an API key, which serves as a unique identifier allowing requests to be authenticated.
Learning how to make API requests is necessary. These requests involve sending data to ChatGPT and receiving responses back. Thus, it’s important to understand the structure of API calls and how to handle responses effectively.
Documentation provided by the API vendor offers detailed instructions, examples, and best practices. Familiarity with these resources helps avoid potential issues and makes troubleshooting simpler, fostering smooth integration.
Setting Up a WordPress Development Environment
A proper development environment is crucial for safely integrating ChatGPT without disrupting the live site. A local development environment allows users to test the integration before going live. Tools like XAMPP or Local by Flywheel are popular choices for setting up such environments.
The development environment should mirror the live site’s configuration. This setup ensures that the integration will function correctly when updated on the live platform. Also, maintaining backups and using version control like Git offer added security and track changes during the process.
Developers must ensure that any integration tests are rigorous and thorough, addressing any challenges ahead of time to ensure a stable and smooth launching experience.
Installing ChatGPT Plugin to WordPress
To integrate ChatGPT into WordPress site involves installing a plugin that connects to ChatGPT’s API. This allows users to engage with an AI-driven chatbot smoothly on their site. Following the right steps ensures the process is seamless.
Choosing the Right Plugin
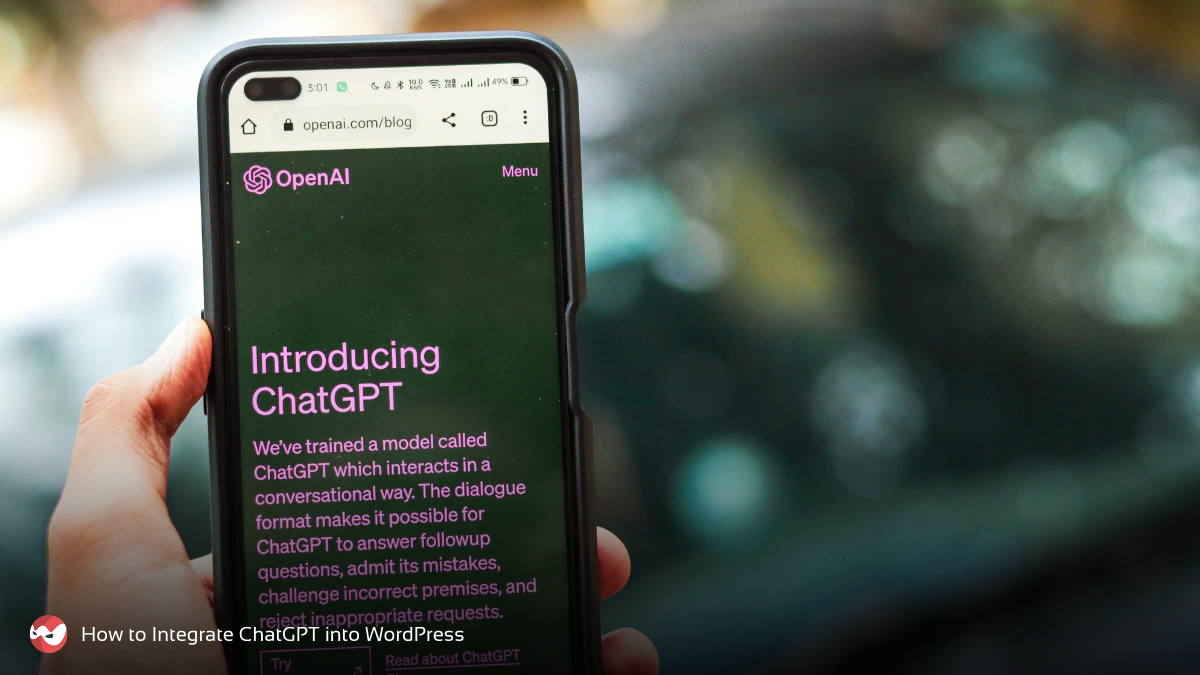
Selecting an appropriate plugin is crucial. There are numerous options available, each with unique features and benefits. Many users prefer the AI Engine plugin due to its versatility. It allows integration with ChatGPT-like chatbots and is easy to install.
It’s important to consider the ease of use and compatibility with your current WordPress setup. Reviewing user feedback and ratings can also guide decision-making. Additionally, some plugins offer free versions, enabling users to test them before committing to a purchase.But you must regularly update the plugin o maintain security and functionality.
Step-by-Step Installation Process
Once the right plugin is chosen, follow these steps to install it. First, go to the WordPress admin panel and navigate to the “Plugins” section. Click on “Add New” and search for your selected ChatGPT plugin.
After locating it, click “Install Now” and then “Activate.” Next, connect the plugin to ChatGPT’s API. This often requires an API key from ChatGPT’s API, which can be entered in the plugin settings.
Finally, configure the plugin’s settings to match your site’s requirements. This might include personalizing chatbot responses and selecting specific features to activate. It is important to test these configurations first before launching them fully. This allows users to have a smooth experience.
Custom Integration of ChatGPT
Integrating ChatGPT into WordPress can be tailored with custom strategies. These include making a plugin specific to your needs, placing ChatGPT directly on WordPress pages, and employing webhooks for dynamic interaction.
Creating a Custom Plugin for ChatGPT
Creating a custom plugin for ChatGPT involves coding and a clear grasp of WordPress plugin structure. Developers need to work with WordPress hooks to extend functionalities. Begin by setting up a folder in the wp-content/plugins directory, then create a main PHP file for the plugin.
Define the plugin header and utilize the OpenAI API within this file. Add activation and deactivation hooks to manage the plugin’s lifecycle. Use WordPress’s REST API to communicate between the plugin and ChatGPT. Register settings in the WordPress dashboard for managing API keys and configurations.
Embedding ChatGPT in WordPress Pages
Embedding ChatGPT in WordPress pages requires shortcode or widget development. Developers can integrate custom shortcodes within page content. This involves using WordPress’s add_shortcode() function.
Alternatively, create widgets by extending the WP_Widget class. Integrate the OpenAI API through these methods to allow ChatGPT conversational interfaces on designated pages. Shortcodes can be included in themes’ functions.php for seamless integration.
Using Webhooks for Real-time Responses
Webhooks can be used for real-time communication between your WordPress site and ChatGPT. Set up a server to receive data from ChatGPT through HTTP requests. This setup requires an endpoint URL to process incoming data.
Implement PHP functions to handle data and return responses to WordPress pages. Webhooks enable quick feedback, ideal for dynamic interactions. Security can be enhanced by verifying source requests and using secure HTTP methods. This approach makes dynamic chat features more engaging for users.
Ready to Transform Your WordPress Site?
Discover how to integrate ChatGPT into WordPress and elevate your site’s user engagement with personalized, AI-powered interactions. At Smart Web Ninja, we provide expert WordPress services, guidance, and innovative solutions to help you seamlessly implement ChatGPT and optimize your website’s performance. Beyond AI integration, our full suite of services includes custom WordPress development, innovative web design, speed optimization, website backups, SEO optimization, and more. Each service is tailored to help your business stand out and convert visitors into loyal customers.
Ready to elevate your online presence? Contact us now and let’s build your site together!